Translate FA Front to new languages
You can localise FA Front to your clients' languages.
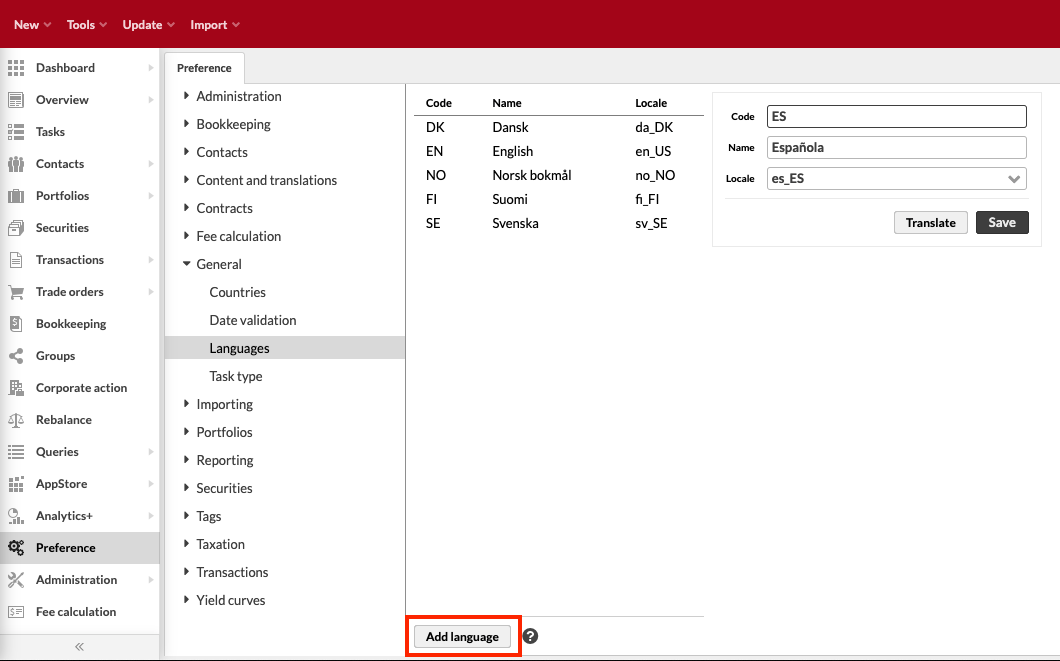
If you want to localise to some other language than English, Finnish, Swedish or Norwegian, start by configuring a new language in FA Back. Go to Preference -> General -> Languages, click Add language and enter the details. In this example we add Spanish.
Inform FA Support of the newly added language and ask them to perform the necessary server-side steps to complete language configuration.
When FA Support confirms that the previous step is completed, you can proceed with localising the platform. The localisations are done both in FA Back and FA Front. In FA Back you can localise individual object names, such as transaction types and security types. In FA Front, you can localise the user interface components that are visible to your clients in FA Front. Note that the user interface components in FA Front are already pre-translated into English, Finnish, Swedish and Norwegian. Therefore, if you are localising to one of those three languages, you can skip the FA Front part of the instructions.
In FA Back, go to Preference > Content and translations -> Translations.
Notice
You don't need to localise every field. It's enough to fill the fields relevant for your end clients' usage of the FA Front.
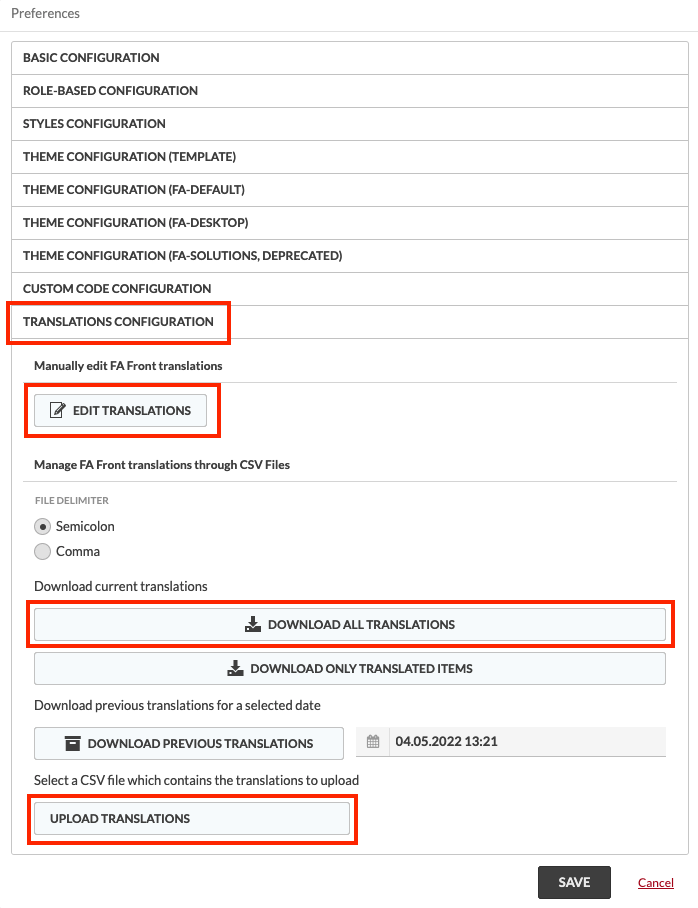
(This step is only required if your are translating to languages other than English, Finnish, Swedish or Norwegian.) In FA Front, go to Preferences > Translations configuration.
Download translations in a CSV file (Download all translations). The file contains a list of IDs (keys) to translate and columns for the languages configured language in the system.
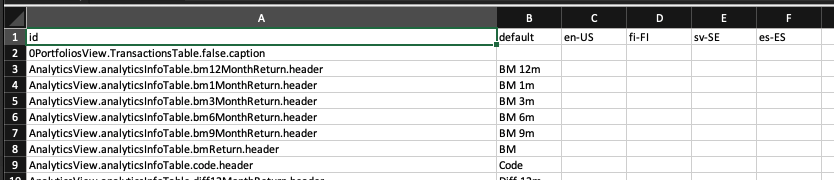
Translate all relevant IDs. If your clients are using trading functionalities in FA Front, add the keys in this file to the downloaded CSV file and translate them also.
Save and upload the file back into FA Front (Upload translations). Make sure to use the same File delimeter setting you used when you first downloaded the translation file.
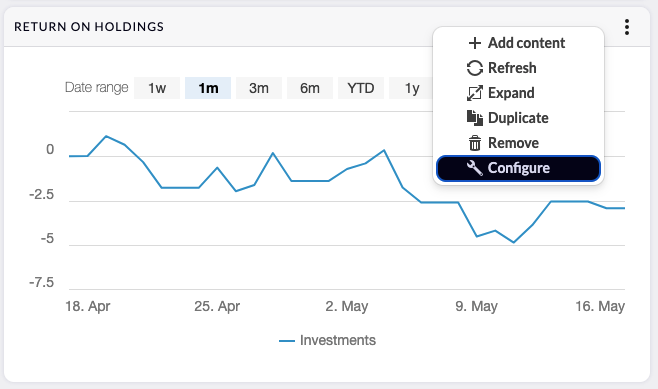
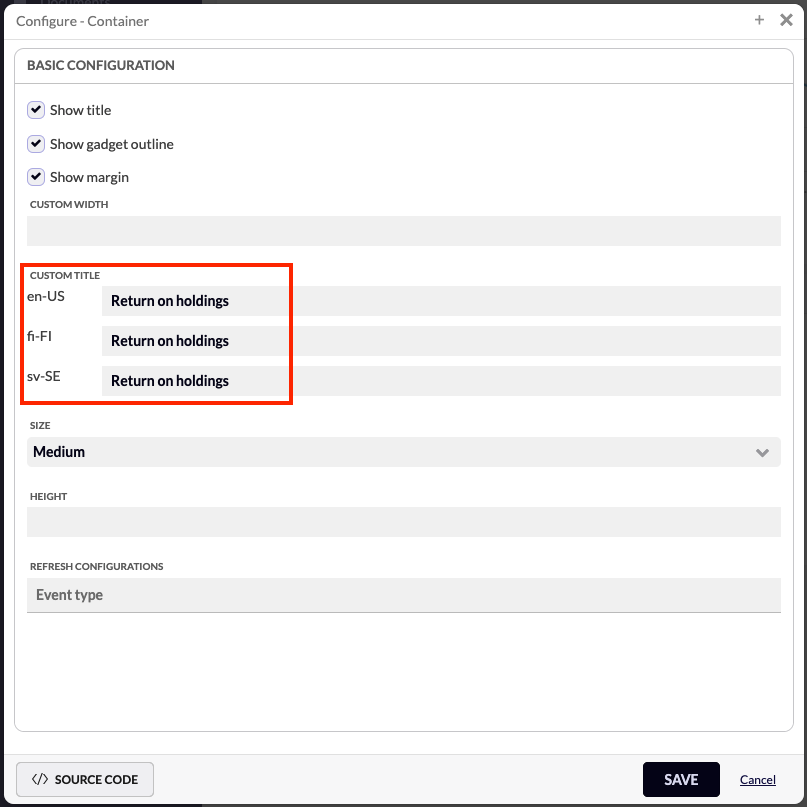
Lastly, translate any gadget titles in FA Front by opening the gadget configurations and inputting the relevant translations:
After you are finished with the translations, you can switch to the new language. Go to Preferences > Basic configuration > Language in FA Front and сhoose the new language. If you already switched to the new language, refresh the browser window to see the effect of the new translations you defined.