Import files in custom CSV formats to the system
If you have data in custom CSV formats, you can convert the data to FA standard formats to import it into the system.
Define mapping
Mapping tells FA which field in the custom CSV file corresponds to which field in FA. To define the mapping, use the Data mapping tool in FA.
Note
For transaction import, you can also use the transaction reader to map the fields (to learn more, see Preference - Importing).
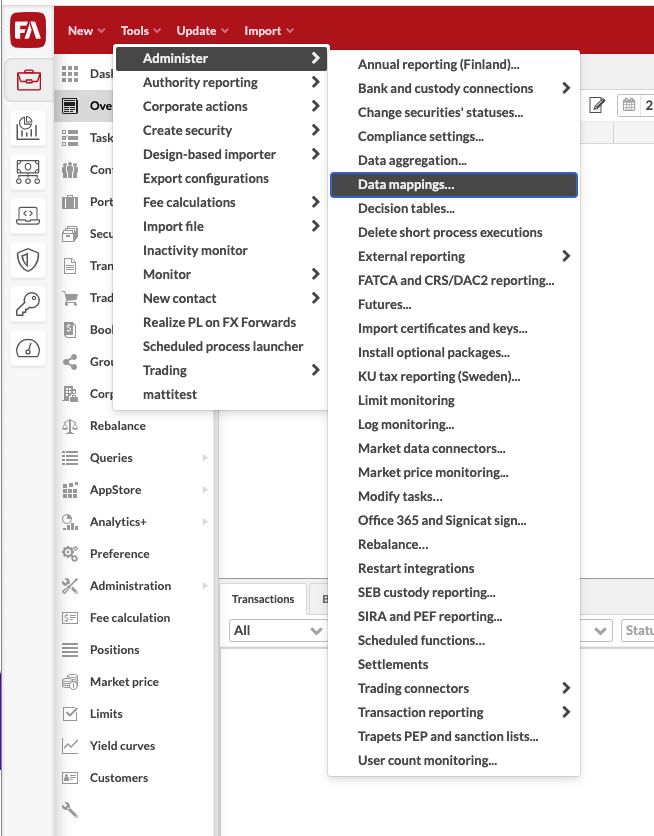
Go to Tools → Administer → Data mappings.
Define your mapping options.
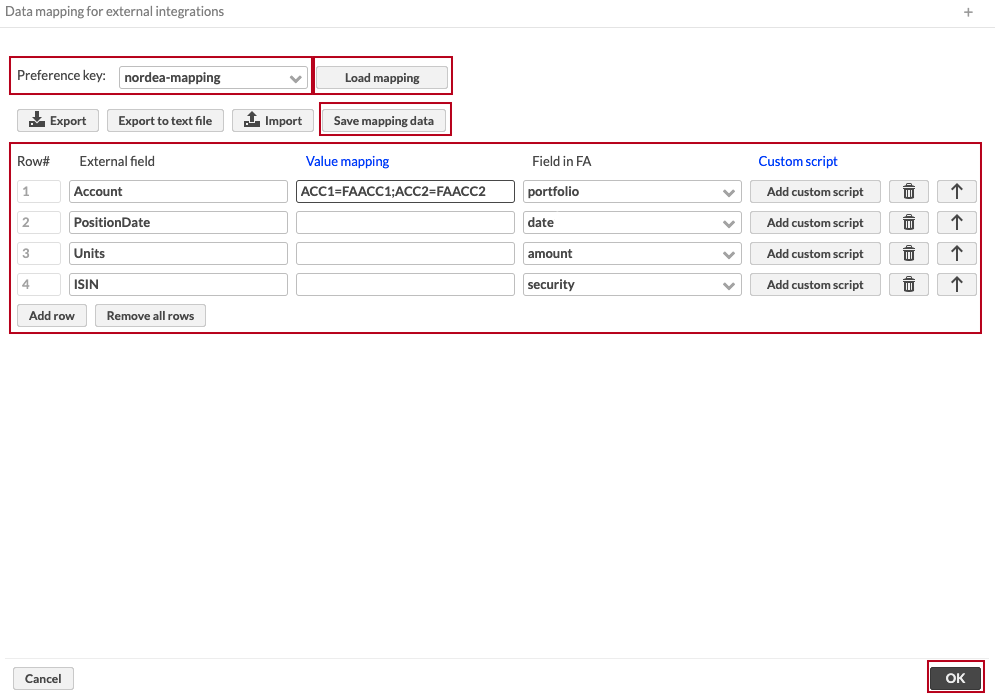
If you create a new mapping, type a descriptive and unique mapping name in the Preference key field. If you modify an existing mapping, select it from the drop-down list and click Load mapping.
Note
Some mappings are defined by default and these should not be modified. If you modify predefined mappings, some functionality can break and the changes will be automatically overridden in the next FA upgrade.
Add as many rows as you have columns to map in the custom CSV file by clicking Add row. You can also add and define rows one at a time.
For each row, define:
Column header in the custom CSV file (External field).
The name of the field in FA (Field in FA ). You can find the field names used in data import in Importing.
In addition, in the Value mapping filed, you can define a set of mapped values as a semicolon-separated list in case the values in the file are different from what you want to have in FA. For example, by specifying ACC1=FAACC1;ACC2=FAACC2, you are telling FA that ACC1 in the field in the file should be imported as FAACC1. In case no value mapping is required, this can be left empty.
When done, click Save mapping data and OK.
Import files to the system
Once you have defined your mappings either using transaction reader or a general data mapping, you can import the files into FA.
Make sure your files are named so that FA recognizes which mapping to use. Include the mapping name in the file name between two dots, before the file extension. For example, positions.nordea-mapping.csv, means that the nordea-mapping mapping should be used. The first part of the filename can be any.
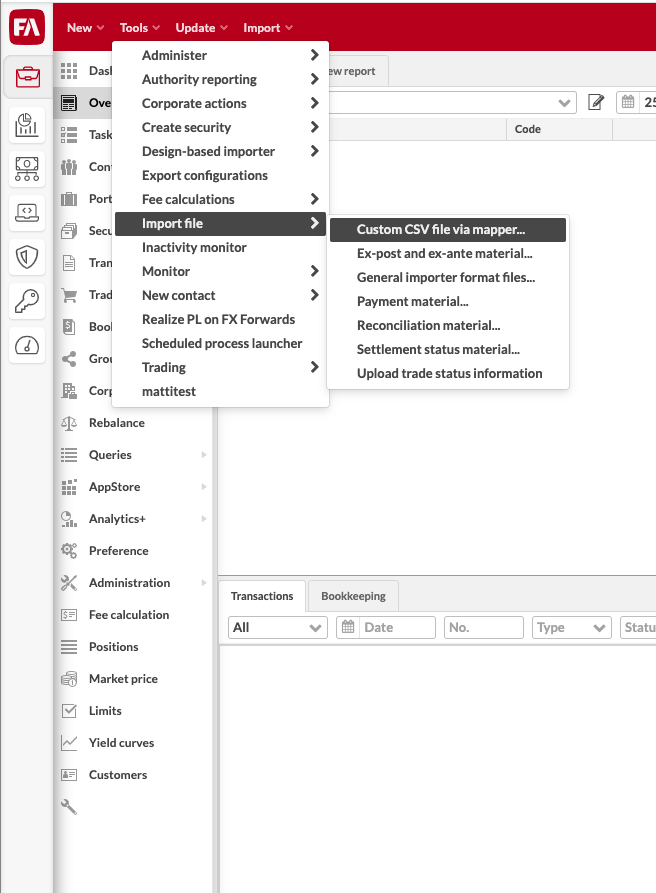
Go to Tools → Import file → Custom CSV file via mapper.
Select the destination for the file:
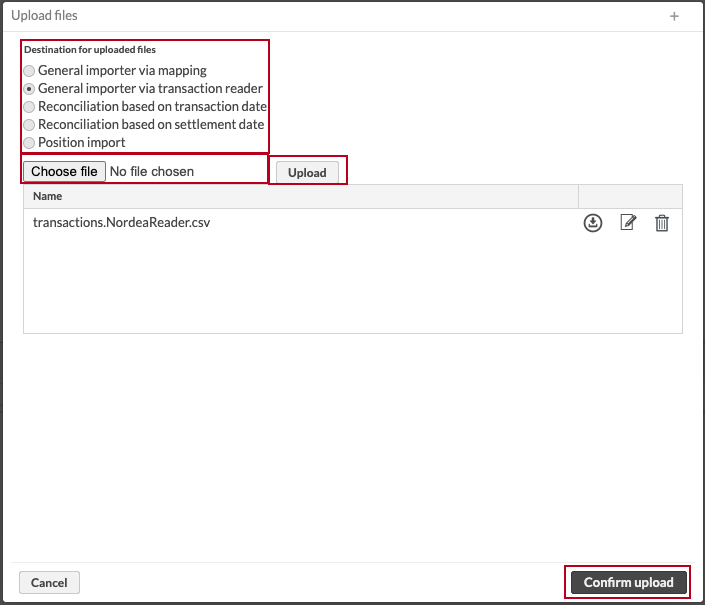
General importer via mapping or General importer via transaction reader to first convert the files using a data mapping or transaction reader and then send them to Import data via general importer format files to the system
Reconciliation based on transaction date or Reconciliation based on settlement date to convert the files using a data mapping and then send them to Reconciliation based on transaction date or settlement date.
Position import to convert the files using a data mapping and then send them to position import.
Click Choose file and upload your file.
The files will be processed after a few minutes.