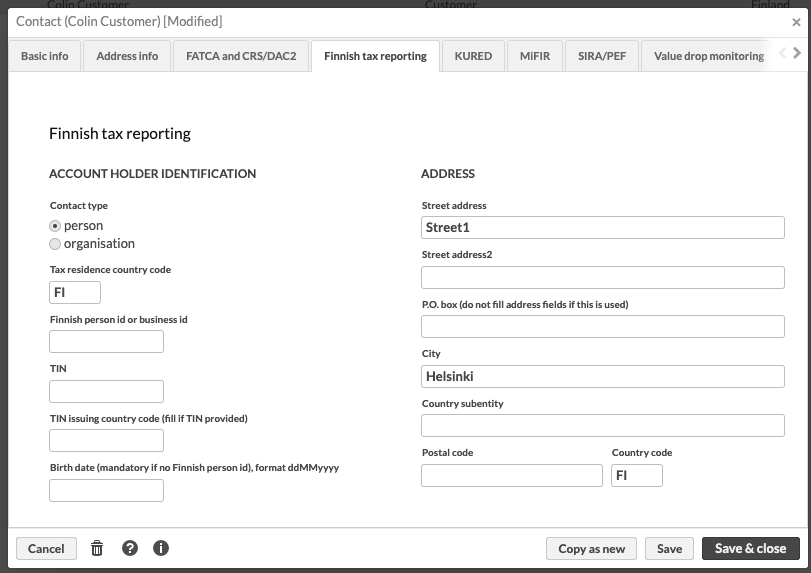
Fill in Finnish tax details based on contact information
Contact information in Finnish tax reporting is based on information stored in the Finnish tax reporting tab on the Contact. This information can be filled in manually, or alternatively automatically propagated based on existing information under the Basic info and Address info tabs. If you wish to follow the automated approach, follow the steps below.
 |
Note
If you are not familiar with decision tables, first familiarise yourself with how Decision Tables work. For more information, see FA Developer guide: Business rules.
Download the decision table:
fa_contact_finnishTaxMapping.xlsx
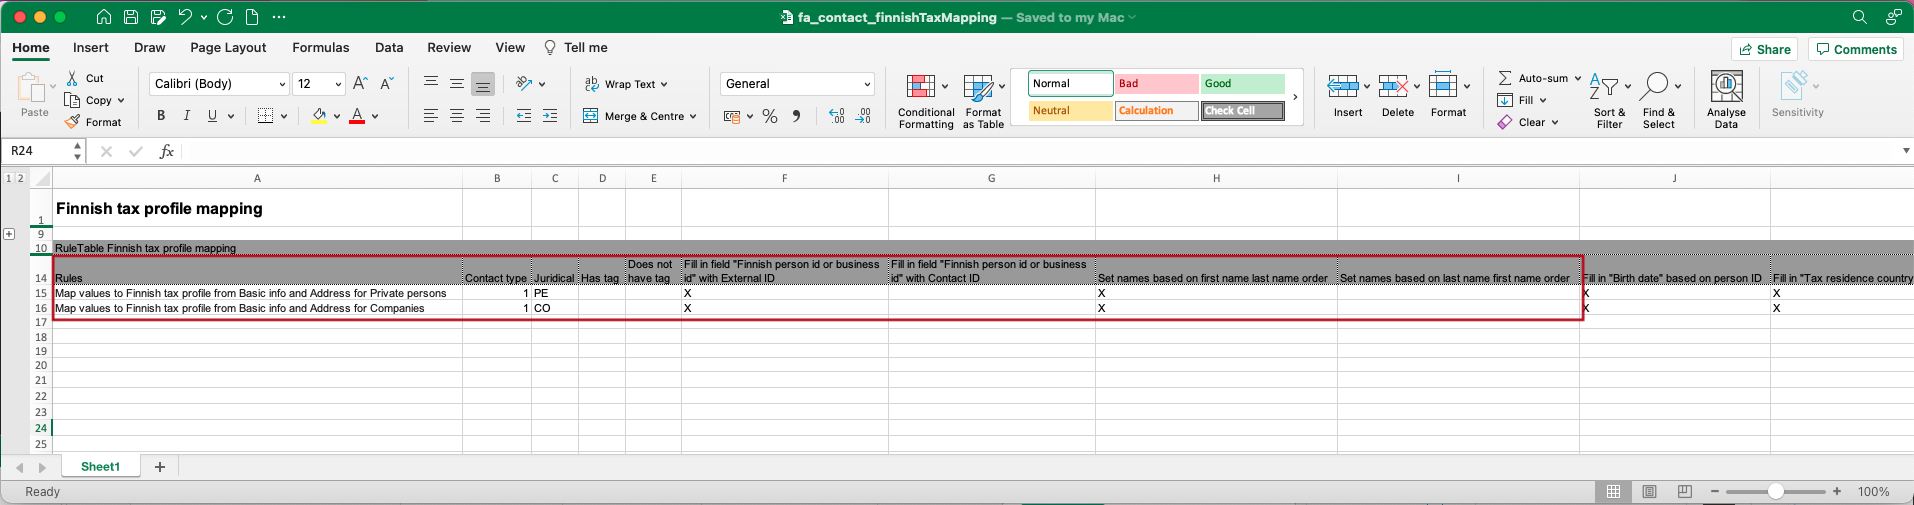
Open it in Excel and make some selections based on how your data is structured. As a starting point there are two rules on rows 15 and 16, that are set to run for Contacts of type Customer (represented by the code 1, check the full list in Preference → Contacts → Contact types) and juridical forms Person and Company (full list of codes available in Preference → Contacts → Juridical form).
Depending on if your social security numbers or organization numbers are stored in External ID or Contact ID, put an X in either column F or G, but never both. Similarly depending on if names of private persons are saved in first name last name or last name first name format, put an X in column H or I. The logic assumes that the last name is either the first or last name in the Contact name under Contact Basic info. There is, however, special handling for last names starting with "af" or "von", so the prefix will be included in the last name, not first names.
 |
The decision table fills in values for Contact type, Tax residence country code, Finnish person id or business id, Birth date, First name, Last name or company name, Street address, Street address2, City, Postal code and Country code. It is possible to leave out some values by removing the X from the relevant column. It is also possible to add a tag to mapped contacts when the rule is run by specifying the tag in column R.
Follow the instructions in Create, deploy and verify a decision table under Step 2 to upload the Decision table and start utilizing the automatic filling rules.