Create settlement instruction files
Notice
You need permission SET (Settlements) to create settlement files. In addition, if you need to access the created settlement files manually, you need the INTEGRATIONS permission in FA Developer app.
Prerequisites
Settlement instructions can only be created for transactions that have sufficient information to create the instructions. See Required information to create settlement files for more details.
Creating the files
In Transactions view, select the transactions for which you want to create the settlement instruction file(s)
The saved view Settlement waiting can be used for this; it shows all transactions with the Settlement-Waiting tag
In Transactions view, click Settlement → Create settlement instructions. A window showing results of the pre-validation of transactions is shown.
If the validation is ok, click Done to close the window and generate the settlement files.
The transactions for which the settlement instructions were made get the tag Settlement-Sending.
If you have an automatic connection to your custodian, the process is now finished; the files will be sent automatically to your custodian.
If you send the files manually, first download the files from
/integrations/settlements/[Bank name]/tousing FA Developer app, and then send them to you custodian by any means you have agreed with them. The files can be downloaded in Integrations > Upload and download section in FA Developer app; navigate to the folder mentioned above and download the files. For more information, see Integrations in FA Developer app.
Cancellations
If you need to cancel a specific transaction's settlement,
Add the tag Settlement cancellation, and
Change the Settlement tag back to Waiting
for the transaction(s) you've already sent to settlement.
After that, proceed with the instructions above to generate new settlement files containing information about cancellation.
Updating settlement statuses
Once the settlement files are created the transactions get the tag Settlement-Sending. Depending on your use case, there are three different options to proceed:
If you don’t have an automatic connection to your custodian, and you will not import MT548/MT598 files into FA manually, you are now finished. You can update the Settlement tags of transactions to Settlement-Done either manually or automatically with the decision table (see the section “Setting settlement status automatically to Done”).
If you don’t have an automatic connection to your custodian, but you will import status files into FA manually, use Tools → Import file → Settlement status material to import the file into FA (see the section “Importing settlement status material into FA”).
If you have an automatic connection to your custodian, see the article Send settlement instructions automatically and receive settlement updatesfor details.
Setting settlement status automatically to Done
This section is applicable only if you don’t use the automatic settlement flow (see Send settlement instructions automatically and receive settlement updates) and if you don’t import the MT548/MT598 files into FA manually.
Note
You need permission PRE (Preference) to upload the decision table
By default, as described above, transactions get the tag Settlement-Sending after the settlement instruction files are created. To change the Settlement-Sending tag automatically to Settlement-Done (when not using the automatic settlement flow), use the following decision table:
Upload the decision table via Tools → Administer → Decision tables. For more information about decision tables, refer to FA Developer guide: Business rules.
After the decision table is installed, any transaction saved with tag Settlement-Sending automatically changes to Settlement-Done
Importing settlement status material into FA
This section is applicable only if you don’t use the automatic settlement flow (see Send settlement instructions automatically and receive settlement updates) and if you do import the MT548 files into FA manually
When you have received the settlement status update material (MT548) from your custodian, you can upload it into FA to automatically process the applicable transactions based on the contents of the status update material.
Use Tools → Import file → Settlement status material to launch the importer. Select the Destination for uploaded files, upload the file from your computer and click Upload. After this, you should see the file you uploaded in the listing, ready to be imported into FA:
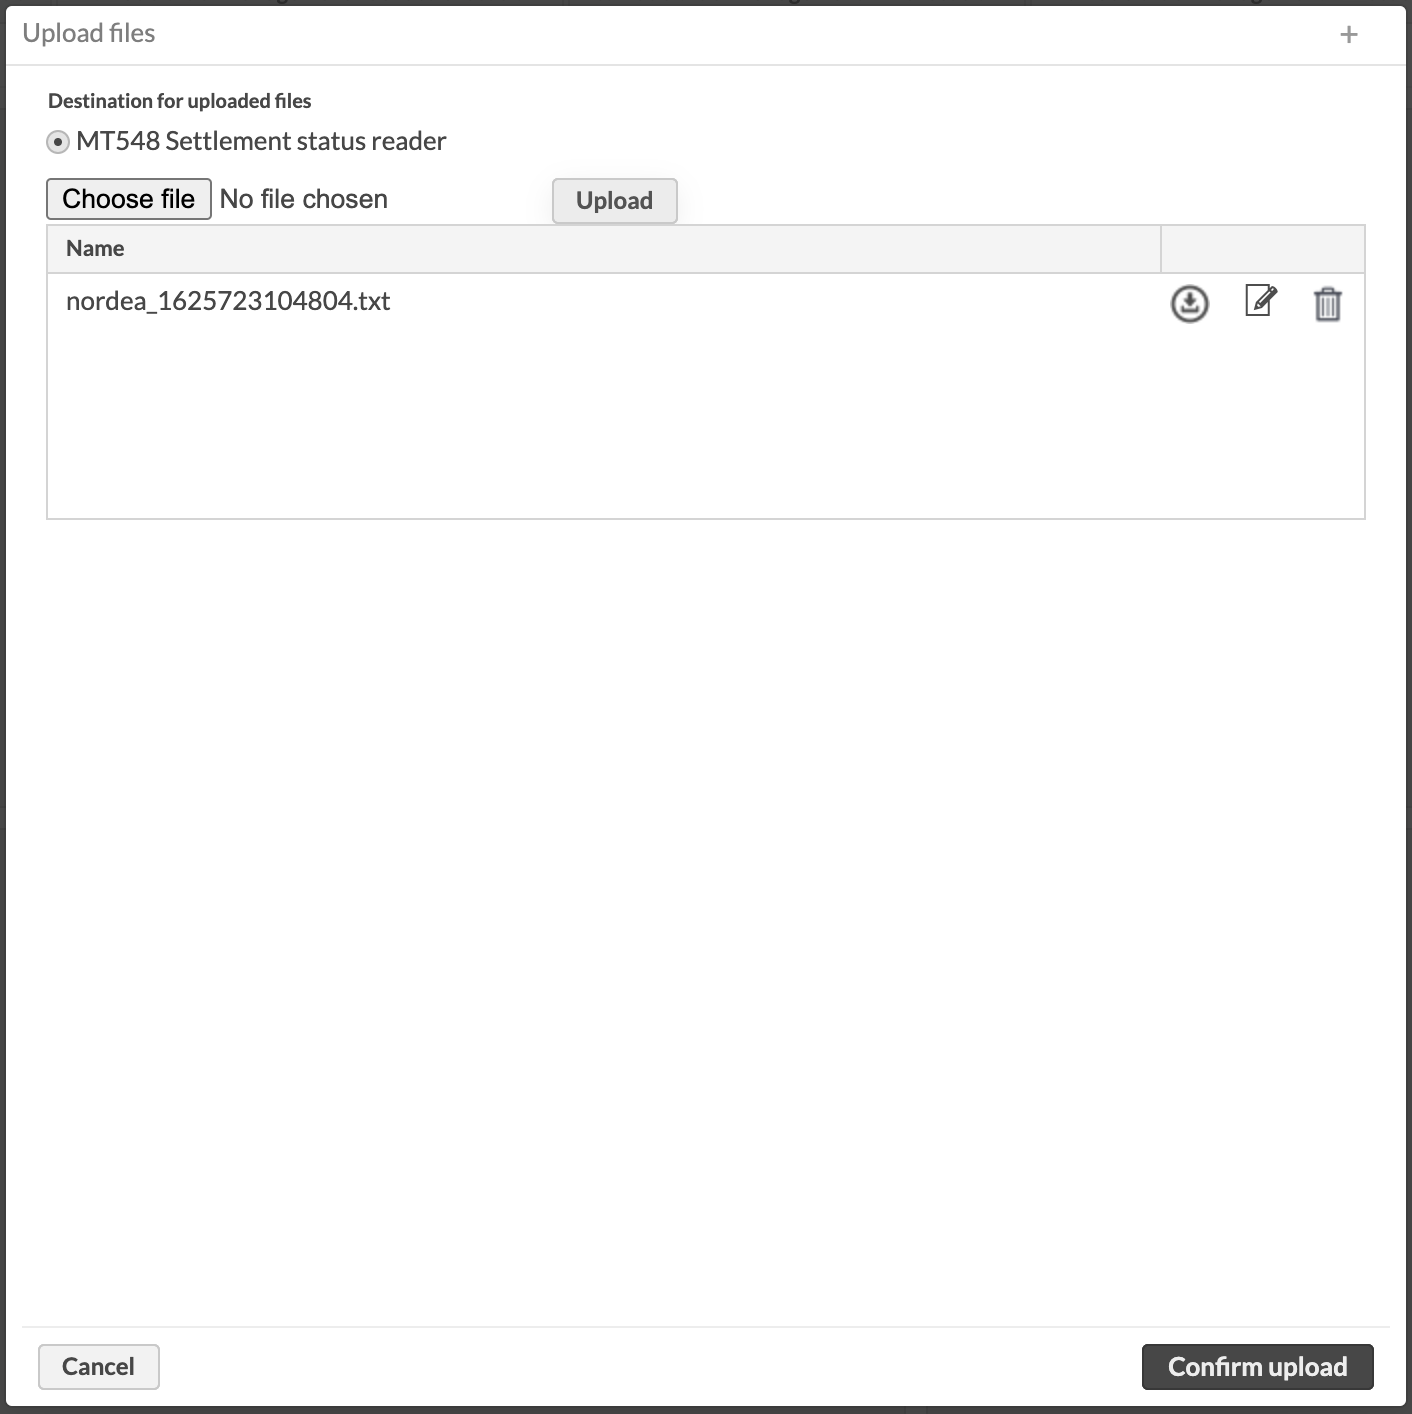 |
Click Confirm upload to continue. The processing of the file might take a few minutes and after that you should see the changes in the applicable transactions. If there are issues, you can find an open task with details in the Tasks view:
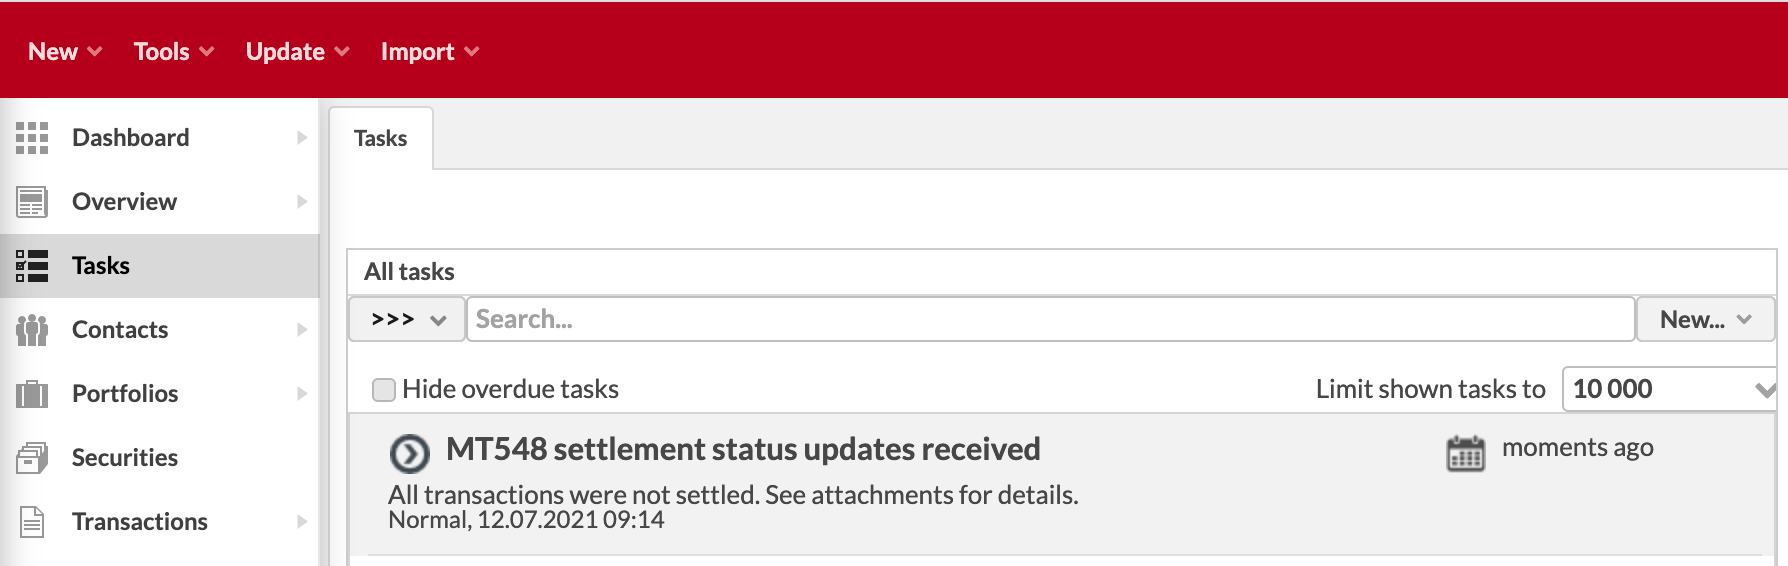 |