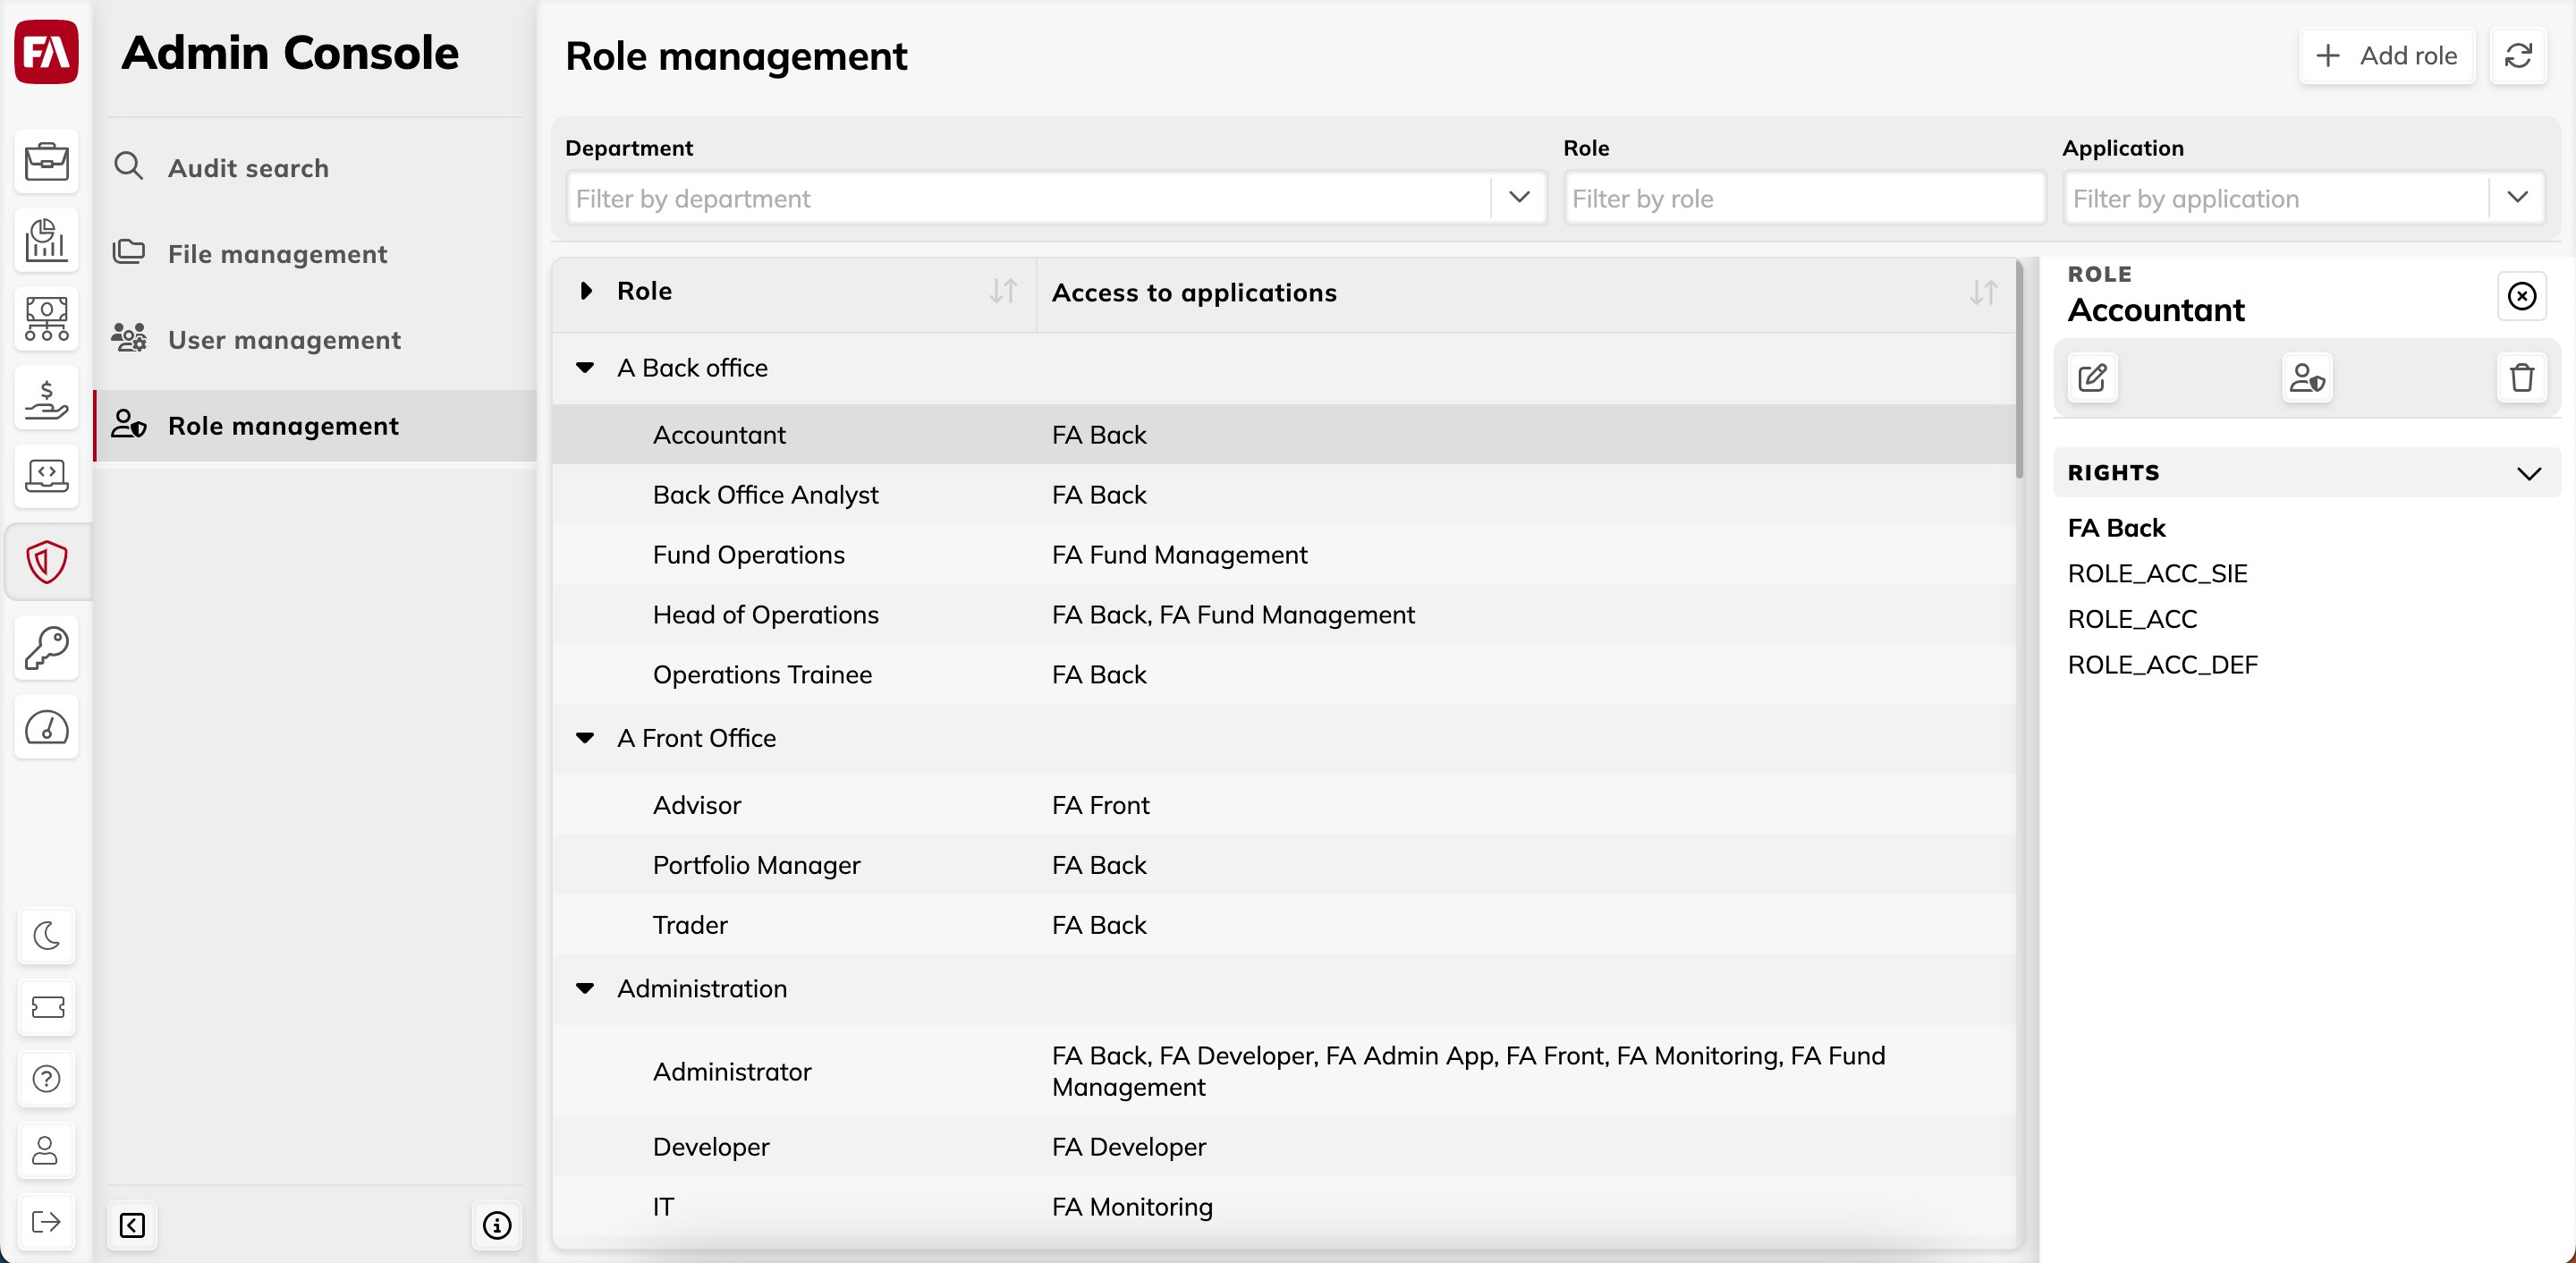
Role management view
Role management view lets you add, edit and delete user roles, and group them into departments.
User role defines which applications the users can access, and user rights within the app. Roles are grouped by department. For example, the Back office department group might include the Accountant, Back office analyst, and Fund operations roles, with each role providing access to certain apps and actions within those apps.
 |
Add role button
The add role button lets you create a new role. Click the button and fill in the fields:
- Department
The department where the role belongs. Choose the department from the list or create a new one by typing it in.
- Role
The name of the user role.
After you created the role, define the role rights by clicking  in the Role pane on the right.
Filters
You can filter user roles by department, role name or application.
Table columns
- Role
Departments and roles under each department.
- Access to applications
The applications the role provides access to.
Role pane
The Role pane on the right lets you view, edit and delete the role. To open the Role pane, select the role from the list.
To change the role's department or edit the role name, click  . To edit the role rights, click and make changes in the Rights window (see Rights window for details). To delete a role, click
  .
.
Department pane
The Department pane lets you edit department name of delete a department. To open the Department pane, select the department from the list.